
Nothing beats the authentic taste of Italy like these delightful Mini Cannoli Cups Recipe that bring all the classic cannoli flavors into perfectly portioned bite-sized treats. As someone who's been perfecting Italian desserts for over a decade, I can tell you that this Mini Cannoli Cups Recipe delivers the same rich, creamy satisfaction of traditional cannoli without the fuss of rolling dough or dealing with fragile shells.
These Mini Cannoli Cups Recipe gems are absolute party favorites that disappear within minutes of hitting the dessert table. Whether you're hosting a dinner party or simply craving something sweet, this Mini Cannoli Cups Recipe transforms simple ingredients into an elegant dessert that looks like it came straight from an Italian bakery.

Why This Mini Cannoli Cups Recipe Rules Every Dessert Table
Traditional cannoli can be tricky to make and even trickier to eat without making a mess. That's exactly why I developed this foolproof Mini Cannoli Cups Recipe that captures all the beloved flavors while solving every practical problem. These bite-sized Italian desserts use store-bought phyllo cups or graham cracker cups as the base, making them incredibly accessible for home bakers of any skill level.
The magic of this Mini Cannoli Cups Recipe lies in its versatility and convenience. You can prepare the cannoli cream filling hours ahead, then assemble these mini dessert cups just before serving. Unlike traditional cannoli that must be filled last-minute to prevent soggy shells, this Mini Cannoli Cups Recipe maintains perfect texture even when made several hours in advance. Plus, the individual portion sizes make them ideal for parties, potlucks, or elegant dinner gatherings.
Jump to:
Ingredients
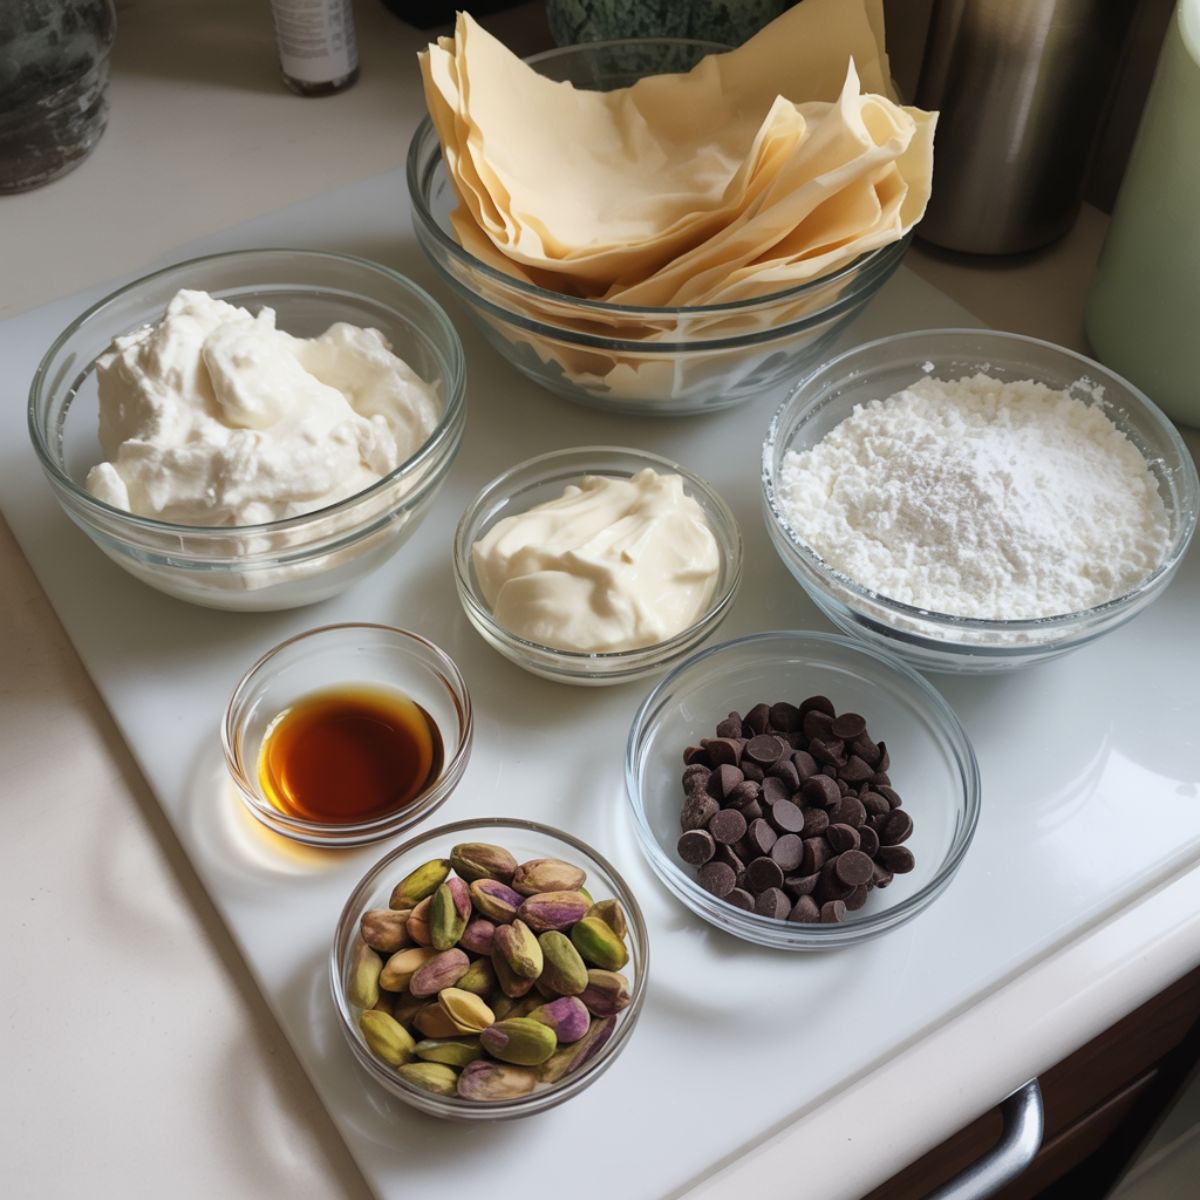
For the Cannoli Cream Filling
- Whole milk ricotta cheese, drained
- Mascarpone cheese, room temperature
- Powdered sugar, sifted
- Vanilla extract
- Almond extract (optional)
- Mini chocolate chips
- Orange zest (optional)
For the Cups
- Powdered sugar for dusting
- Mini phyllo pastry cups (or graham cracker cups)
- Pistachios, finely chopped
- Extra mini chocolate chips for garnish
See recipe card for quantities.
Instructions
Prepare the Perfect Cannoli Cream
- Drain ricotta cheese in a fine-mesh strainer for 30 minutes to remove excess moisture
- In a large mixing bowl, combine drained ricotta and room temperature mascarpone
- Beat mixture with electric mixer on medium speed until smooth and creamy
- Gradually add sifted powdered sugar, beating until fully incorporated
- Mix in vanilla extract and almond extract until well combined
- Gently fold in mini chocolate chips and orange zest if using
Prepare Your Cup Bases
- If using phyllo cups, arrange them on a serving tray
- For extra crispiness, bake phyllo cups at 350°F for 2-3 minutes
- Allow cups to cool completely before filling
- If making graham cracker cups, press mixture into mini muffin tins and chill
Assembly Magic
- Using a piping bag or spoon, fill each cup with cannoli cream mixture
- Create attractive peaks by piping cream in a swirling motion
- Sprinkle tops with chopped pistachios and extra mini chocolate chips
- Dust lightly with powdered sugar just before serving
Step 4: Final Touches and Presentation
- Keep refrigerated until ready to serve for best texture
- Chill assembled cups in refrigerator for at least 30 minutes
- Add any final garnishes like candied orange peel or maraschino cherries
- Arrange on serving platter with small spoons or serve as finger food
Expert Cooking Tips
Achieving the Perfect Texture
- The secret to exceptional Mini Cannoli Cups Recipe lies in properly draining your ricotta cheese. Place ricotta in a fine-mesh strainer lined with cheesecloth and let it drain in the refrigerator for at least 2 hours, or overnight for best results. This extra step prevents watery filling that can make your cups soggy.
Flavor Enhancement Techniques
- Toast your chopped pistachios lightly in a dry pan for 2-3 minutes to intensify their flavor
- Use high-quality vanilla extract; the difference is noticeable in this delicate dessert
- Chill your mixing bowl and beaters for 10 minutes before whipping the cream mixture
- Add a pinch of cinnamon to the filling for a subtle warm spice note
Professional Presentation Tips
- Use a star tip when piping the cream for bakery-style presentation
- Dust with powdered sugar using a fine-mesh sieve for even coverage
- Serve on chilled plates to maintain the cream's texture
- Garnish just before serving to prevent colors from bleeding
Make-Ahead Strategies
- Prepare the cannoli cream up to 24 hours in advance and store covered in refrigerator
- Assemble cups up to 4 hours before serving for optimal texture
- Keep garnishes separate until the last moment to maintain crispness
- Store assembled cups covered with plastic wrap to prevent drying out
Recipe Variations & Substitutions
Dietary Modifications
- For those following specific dietary needs, this Mini Cannoli Cups Recipe adapts beautifully. Create a lighter version by substituting half the mascarpone with Greek yogurt, or make it completely dairy-free using cashew cream and dairy-free chocolate chips. Gluten-sensitive guests can enjoy these treats when you use gluten-free phyllo cups or make almond flour cups.
Creative Flavor Variations
- Transform your basic recipe into exciting new flavors. Try a chocolate version by adding 2 tablespoons of cocoa powder to the filling, or create a coffee twist with instant espresso powder. For fruit lovers, fold in fresh berries or finely diced strawberries. A lemon version using lemon zest and extract creates a bright, citrusy alternative.
Cup Base Alternatives
- Chocolate phyllo cups: Brush phyllo with melted chocolate before baking
- Cookie cups: Use mini vanilla wafer cookies as edible bases
- Pastry cups: Make from scratch using puff pastry cut into circles
- Ice cream cone pieces: Break sugar cones into cup-shaped pieces
Seasonal Adaptations
- Spring variations can include fresh strawberry pieces and lemon zest. Summer versions might feature peach chunks and amaretto flavoring. Fall adaptations work beautifully with pumpkin puree and warm spices, while winter versions shine with peppermint extract and crushed candy canes.
Equipment Recommendations
- Essential tools for perfect Mini Cannoli Cups Recipe include a fine-mesh strainer for draining ricotta, an electric mixer for smooth cream consistency, and a piping bag with star tip for professional presentation. A cookie scoop ensures uniform filling portions, while a small offset spatula helps with precise garnish placement.
- Budget-friendly alternatives work just as well; use a large spoon instead of a piping bag, and a regular kitchen strainer lined with paper towels can substitute for fine mesh. A plastic sandwich bag with the corner snipped off makes an excellent impromptu piping bag for this Mini Cannoli Cups Recipe.
Storage & Meal Prep Tips
Refrigerator Storage
- Assembled Mini Cannoli Cups Recipe treats stay fresh in the refrigerator for up to 2 days when stored in an airtight container. Place parchment paper between layers to prevent sticking, and avoid storing near strong-smelling foods as the cream can absorb odors.
Component Preparation
- The cannoli cream filling can be prepared up to 3 days in advance and stored separately. Keep it covered tightly with plastic wrap pressed directly onto the surface to prevent a skin from forming. The cups themselves can be prepared and stored in airtight containers for up to 1 week.
Serving Guidelines
- For best results, assemble your Mini Cannoli Cups Recipe no more than 4 hours before serving. This timing prevents the cups from becoming soggy while ensuring the filling maintains its creamy texture. Add garnishes just before presentation for maximum visual impact and flavor.
Grandma's Secret That Changed Everything
After years of making traditional cannoli, my Italian grandmother shared her most guarded secret that revolutionized my Mini Cannoli Cups Recipe. She always added a tiny pinch of salt to the sweet cream filling, explaining that it awakens all the other flavors and creates a more complex, satisfying taste. This seemingly counterintuitive addition makes each bite more memorable and prevents the sweetness from becoming overwhelming.
The second game-changing secret she revealed was chilling the serving spoons along with the assembled cups. This simple technique ensures that the Mini Cannoli Cups Recipe maintains its perfect temperature and texture from first bite to last. These professional touches transform a simple dessert into an unforgettable experience that guests will request again and again.
FAQ
What can I use if I don't have cannoli tubes?
You don't need traditional cannoli tubes for this Mini Cannoli Cups Recipe! Use store-bought mini phyllo cups, graham cracker cups, or even make simple cups from puff pastry. These alternatives actually work better since they're already the perfect individual serving size.
Is mascarpone or ricotta better for cannoli?
Traditional cannoli filling combines both ricotta and mascarpone, which is exactly what this Mini Cannoli Cups Recipe uses. Ricotta provides the classic texture while mascarpone adds richness and smoothness. Using both creates the perfect balance of authentic flavor and creamy consistency.
How big is a mini cannoli shell?
Mini cannoli cups are typically 2-3 inches in diameter and about 1 inch deep, making them perfect bite-sized portions. This Mini Cannoli Cups Recipe is designed specifically for these smaller sizes, ensuring each cup has the ideal filling-to-shell ratio.
Are cannolis healthy for weight loss?
While this Mini Cannoli Cups Recipe is a dessert treat, the smaller portion sizes help with portion control. You can make healthier versions by using part-skim ricotta, reducing sugar, or substituting some mascarpone with Greek yogurt while maintaining the delicious taste.
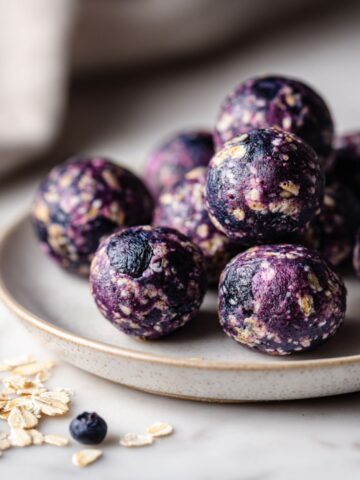
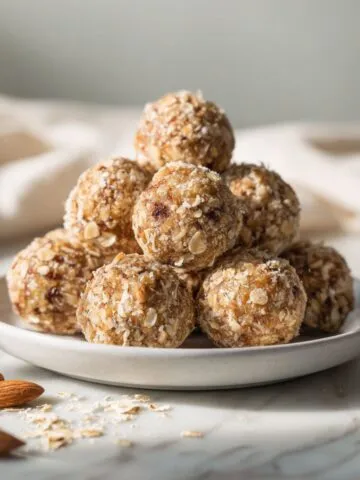
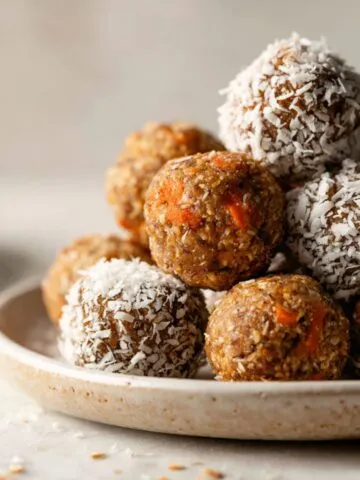
Sweet Endings: More Italian-Inspired Treats to Try
These delightful Mini Cannoli Cups Recipe treats prove that authentic Italian flavors can be both accessible and elegant. The combination of creamy ricotta filling, crispy cups, and beautiful presentation makes this Mini Cannoli Cups Recipe perfect for any occasion, from casual family gatherings to sophisticated dinner parties.
Once you've mastered this Mini Cannoli Cups Recipe, try expanding your dessert repertoire with our Frozen Yogurt Bark Recipe for a refreshing summer treat, or indulge in our rich Almond Joy Bars Recipe for chocolate lovers. Both recipes share the same approachable style and impressive results that make this Mini Cannoli Cups Recipe such a reliable crowd-pleaser.
With love from my kitchen to yours
By Lisa Johnson 🥰
Related
Looking for other recipes like this? Try these:
Pairing
These are my favorite dishes to serve with Mini Cannoli Cups Recipe
Mini Cannoli Cups Recipe
Equipment
- 1 Fine-mesh strainer For draining ricotta
- 1 Electric mixer To beat filling smooth
- 1 Mixing bowl Large, for cream
- 1 Piping bag (or spoon) For filling cups
- 1 Star piping tip For bakery-style swirls
- 1 Cookie scoop Ensures even filling
- 1 Offset spatula Helps with garnish
- 1 Fine sieve For dusting powdered sugar
Ingredients
- 1 cup Ricotta cheese Whole milk, drained
- 8 oz Mascarpone cheese Room temperature
- 1 cup Powdered sugar Sifted
- 1 teaspoon Vanilla extract
- ½ teaspoon Almond extract Optional
- ½ cup Mini chocolate chips Plus extra for garnish
- 1 zest Orange Optional
- 30 Mini phyllo pastry cups Or graham cracker cups
- ¼ cup Pistachios Finely chopped
- Powdered sugar For dusting
- Candied orange peel Optional garnish
- Maraschino cherries Chopped, optional
- Extra pistachios Optional garnish
Instructions
- Drain ricotta in strainer for 30 minutes.
- Beat ricotta and mascarpone until creamy.
- Add powdered sugar gradually, then extracts.
- Fold in chocolate chips and orange zest.
- Bake phyllo cups 2–3 mins for crispiness.
- Fill cups with cream using piping bag.
- Garnish with pistachios, chocolate chips, sugar.
- Chill at least 30 minutes before serving.
Notes
- Nutrition information is automatically calculated, so should only be used as an approximation.

Leave a Reply