
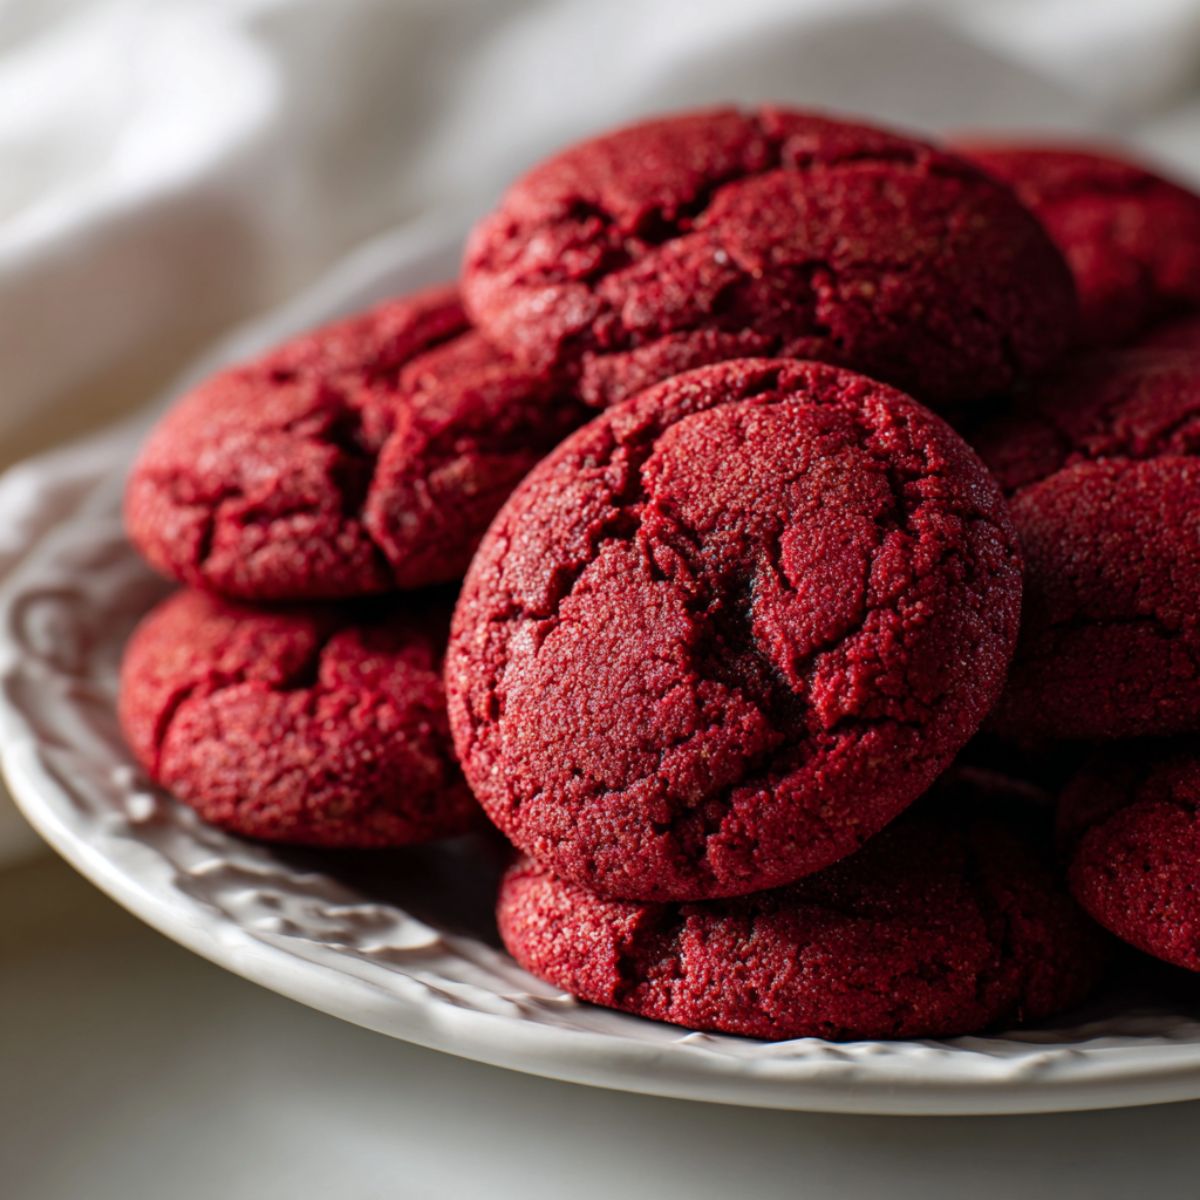
There’s something magical about pulling a warm tray of soft, chewy cookies out of the oven; and when it’s red velvet, the excitement doubles. This Red Velvet Cookies Recipe brings that classic red velvet flavor you already adore into a cookie that’s tender, rich, and incredibly satisfying. It’s the kind of treat that looks impressive on the table, yet comes together so easily you’ll wonder why you haven’t made them sooner.
Whether you're gearing up for Valentine’s Day, looking for a new favorite Christmas cookie recipe, or simply want a cozy weekend baking project; this Red Velvet Cookies Recipe hits the sweet spot. The bold color, the hint of cocoa, and that soft bakery-style texture make these cookies a reliable dessert favorite every single time.
Why You’ll Love This Red Velvet Cookies Recipe
The Red Velvet Cookies Recipe is everything you love about red velvet desserts—wrapped into a soft, flavorful cookie that’s easy to make and even easier to love. Forget the hassle of layered cakes; this Red Velvet Cookies Recipe delivers the same cocoa-vanilla richness with less effort and no need for frosting.
What sets this Red Velvet Cookies Recipe apart is the perfect blend of flavors; a subtle cocoa warmth, smooth vanilla, and that signature tang that defines red velvet. They’re delicious on their own, or served with coffee, milk, or a scoop of ice cream for a cozy finish.
Perfect for holidays, cookie swaps, or romantic evenings, this Red Velvet Cookies Recipe easily fits into your festive dessert lineup without complicating your baking plans.
Jump to:
Ingredients
Dry Ingredients
- All-purpose flour - Forms the cookie structure
- Unsweetened cocoa powder - Creates that signature red velvet chocolate flavor
- Baking soda - Helps cookies rise and stay soft
- Salt - Balances sweetness and enhances flavor
Wet Ingredients
- Unsalted butter, softened - Creates tender, chewy texture
- Granulated sugar - Provides sweetness and structure
- Brown sugar, packed - Adds moisture and depth
- Large eggs - Binds ingredients and adds richness
- Vanilla extract - Essential for red velvet flavor
- Liquid red food coloring - Creates that beautiful festive color
- White vinegar - Adds the signature tang
Mix-ins
- Mini chocolate chips (optional) - For extra chocolate lovers
- White chocolate chips - Complements the red velvet taste perfectly

See recipe card for quantities.
Instructions
Prepare and Mix Dry Ingredients
- Preheat your oven to 350°F (175°C) and line two large baking sheets with parchment paper. In a medium bowl, whisk together flour, cocoa powder, baking soda, and salt. Set this mixture aside – proper mixing here prevents lumpy cookie dough recipe results.
Make the Cookie Dough
- In a large mixing bowl, cream together softened butter, granulated sugar, and brown sugar using an electric mixer on medium speed for 2-3 minutes until light and fluffy. Beat in eggs one at a time, then add vanilla extract, red food coloring, and white vinegar. Mix until just combined. Gradually add the flour mixture, mixing on low speed until just combined. Fold in white chocolate chips and mini chocolate chips if using.
Pro tip: Make sure your butter is truly softened (not melted) for the best texture.
Shape and Bake
- Using a cookie scoop or tablespoon, drop rounded portions of dough onto prepared baking sheets, spacing them about 2 inches apart. This no chill cookie dough recipe means you can bake immediately! Bake for 10-12 minutes, or just until the edges are set. The centers should still look slightly soft – they'll continue cooking on the hot pan.
Cool and Enjoy
- Let cookies cool on the baking sheet for 5 minutes before transferring to a wire rack. This prevents breaking while ensuring they finish cooking perfectly. The red food coloring dessert magic happens here – your beautiful red velvet cookies are ready to enjoy!
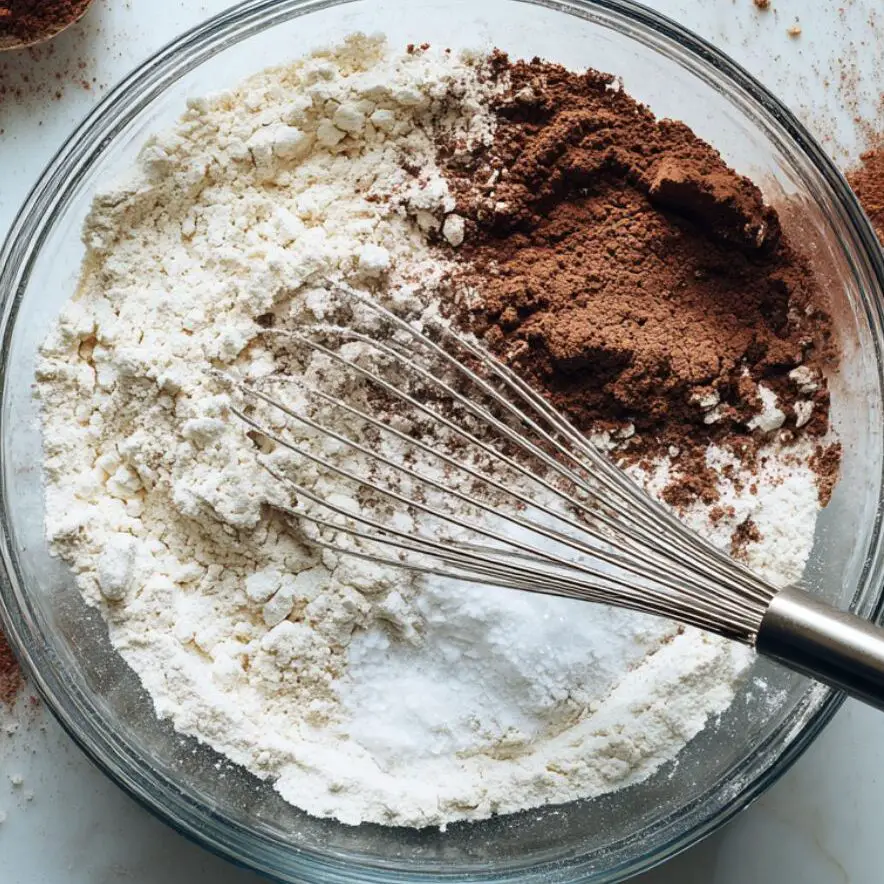
- Step 1: Prepare and Mix Dry Ingredients
Combine flour, cocoa powder, baking soda, and salt in a mixing bowl

- Step 2: Make the Cookie Dough
Mix wet ingredients and gradually add the dry mix to form dough
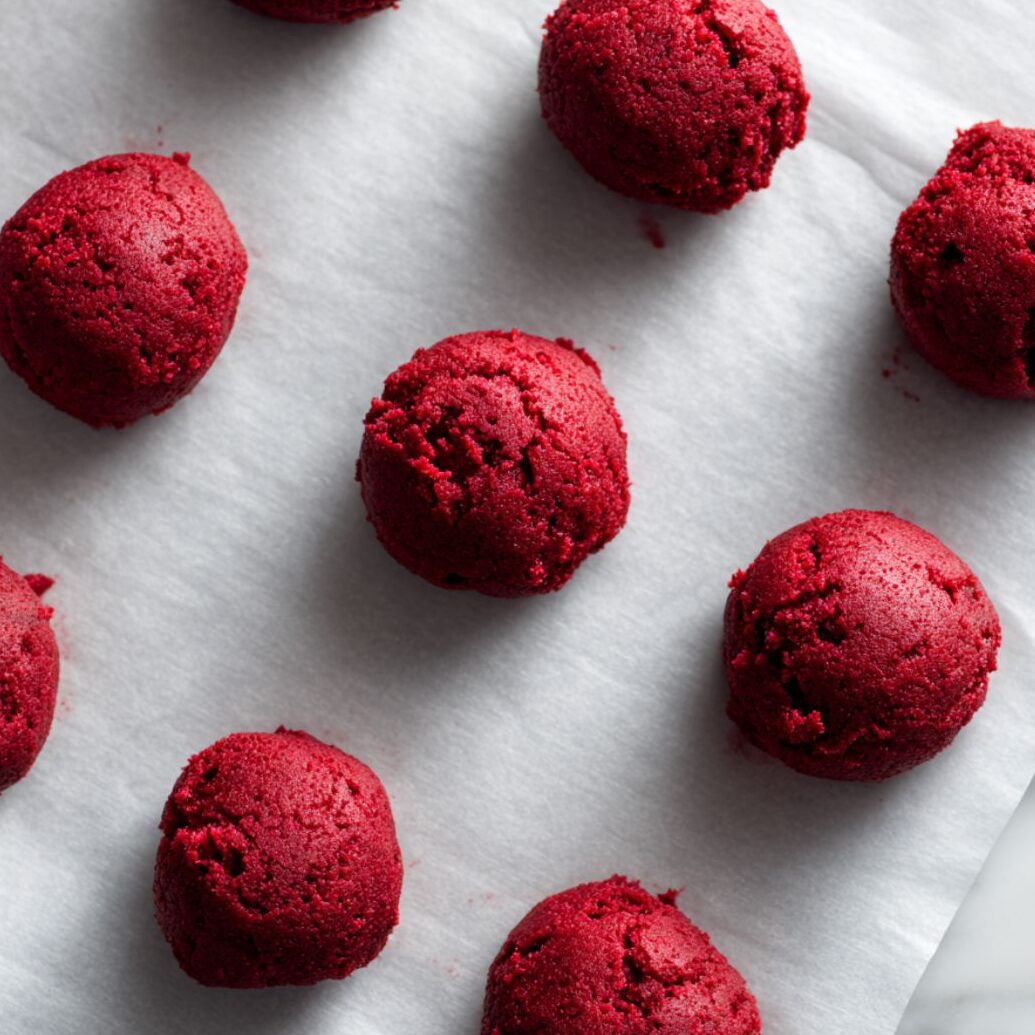
- Step 3: Shape and Bake
Shape dough and bake until edges are set
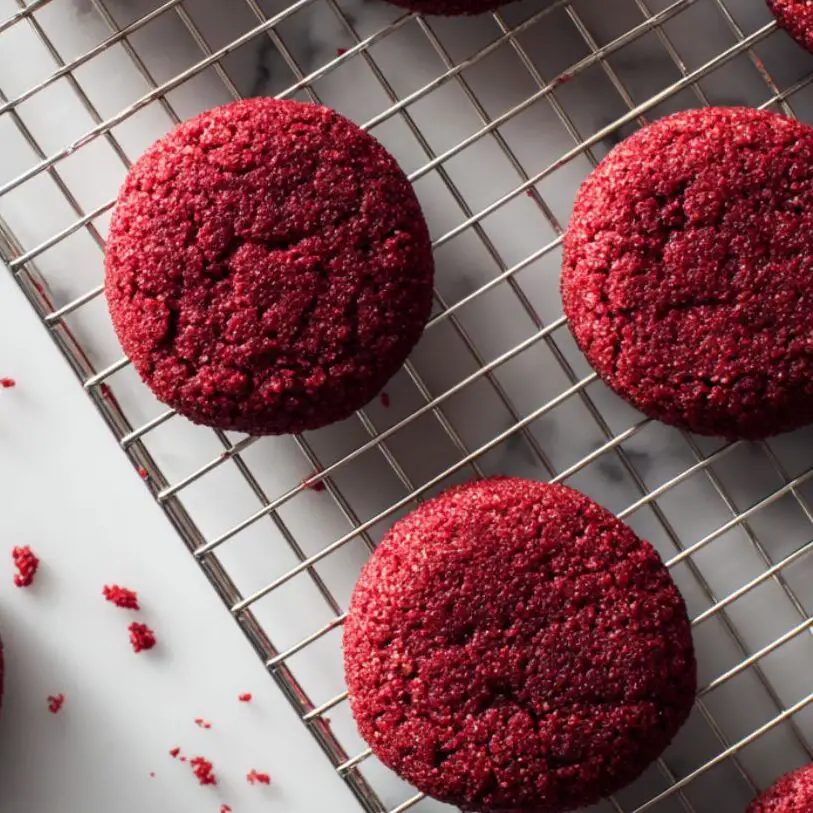
- Step 4: Cool and Enjoy
Let cookies cool before serving for best texture
Expert Cooking Tips for Perfect Results
Temperature Matters
- The ideal oven temperature for cookies is 350°F. Too hot, and your edges will burn before centers cook. Too cool, and you'll get flat, spread-out cookies instead of the thick, chewy texture we want.
Don't Overbake
- These cookies continue cooking on the hot pan after removal from the oven. Pull them out when edges are set but centers still look slightly underdone for perfectly chewy red velvet cookies.
Measuring Flour Correctly
- Spoon flour into your measuring cup and level off with a knife. Scooping directly from the bag packs too much flour, leading to dry cookies.
Room Temperature Ingredients
- Ensure eggs and butter are at room temperature for proper mixing and texture. Cold ingredients don't cream properly and can result in dense cookies.
Recipe Variations & Dietary Modifications
Frosted Red Velvet Cookies
- Top cooled cookies with cream cheese frosting for an extra indulgent treat. Simply beat together 4 oz softened cream cheese, 2 tablespoons butter, 1 cup powdered sugar, and ½ teaspoon vanilla extract.
Red Velvet Chocolate Chip Cookies
- Double the mini chocolate chips and add some dark chocolate chunks for serious chocolate lovers.
Inside Out Red Velvet Cookies
- Roll dough balls in powdered sugar before baking for a beautiful crackled appearance that looks like inside-out red velvet cake.
Healthy Red Velvet Cookies
- Replace half the all-purpose flour with whole wheat pastry flour and reduce sugar by ¼ cup. Add an extra tablespoon of cocoa powder to maintain rich flavor.
Stuffed Red Velvet Cookies
- Place a piece of cream cheese or white chocolate in the center of each dough ball before baking for a surprise center.
Holiday Variations
- Christmas red velvet cookies: Add green sprinkles on top
- Valentine's Day treats: Shape into hearts using cookie cutters
- Birthday cookie treats: Top with colorful sprinkles
Essential Equipment Recommendations
Must-Have Tools
- Stand mixer or hand mixer - Makes creaming butter and sugars effortless
- Cookie scoop - Ensures uniform size and professional appearance
- Large mixing bowls - Prevents flour overflow during mixing
- Parchment paper - Prevents sticking better than cooking spray
Budget-Friendly Alternatives
- Use a large spoon and some elbow grease instead of an electric mixer
- A regular tablespoon works fine if you don't have a cookie scoop
- Lightly greased baking sheets work instead of parchment paper
Nice-to-Have Upgrades
- Silicone baking mats - Reusable and create perfectly even browning
- Digital kitchen scale - For precise measurements and consistent results
- Cooling racks - Allow proper air circulation for even cooling
Storage & Meal Prep Tips
Short-Term Storage
- Store cooled cookies in an airtight container at room temperature for up to one week. Place a slice of bread in the container to keep cookies soft after baking – the bread will go stale, but your cookies stay perfectly chewy.
Freezing Instructions
- These cookies freeze beautifully! Place cooled cookies in freezer-safe containers with parchment paper between layers. They'll keep for up to 3 months. Thaw at room temperature for 15-20 minutes before serving.
Make-Ahead Cookie Dough
- You can prepare the dough up to 2 days in advance. Cover tightly and refrigerate, then let come to room temperature before scooping and baking. This actually improves flavor as ingredients have time to meld together.
Best Way to Store Cookies for Gifts
- Wrap individual cookies in cellophane bags tied with ribbon for beautiful gift presentation that maintains freshness. freezing for X days/weeks/months.
The Secret That Turned Heads at My Cookie Swap
It all started with a last-minute decision to bring something “different” to a holiday cookie swap. I didn’t want to show up with another batch of sugar cookies; I wanted a recipe that felt special but didn’t take hours in the kitchen. That’s when I decided to test out my own version of a Red Velvet Cookies Recipe—and let me tell you, it changed everything.
The moment those soft, red gems hit the dessert table, people couldn’t stop asking for the recipe. What made them stand out wasn’t just the color or the cocoa-vanilla flavor—it was the melt-in-your-mouth texture and that hint of tang that made each bite unforgettable. Since then, this Red Velvet Cookies Recipe has become my go-to secret for impressing without the stress.
FAQ
What is red velvet cookie recipe made of?
Red velvet cookies recipe are made with flour, butter, sugar, cocoa powder, vanilla extract, and red food coloring. They often include a hint of vinegar or buttermilk to achieve that signature red velvet tang.
What are the ingredients in Starbucks red velvet cookies recipe?
Starbucks red velvet cookies recipe typically include cocoa powder, white chocolate chips, butter, sugar, eggs, flour, red coloring, and vanilla extract. They’re known for their soft texture and creamy sweetness.
What is the secret to making cookies soft and chewy?
The key is using brown sugar, not overbaking, and slightly underbaking for a gooey center. Room temperature butter and chilling the dough also help retain moisture for that chewy texture.
What is the difference between red velvet and chocolate cookies?
Red velvet cookies have a mild cocoa flavor with added tang from vinegar or buttermilk, plus a vibrant red color. Chocolate cookies have a deeper cocoa or chocolate taste without the acidic notes.
Bake It, Love It, Share It!
This Red Velvet Cookies Recipe is the kind of treat that brings smiles with every bite. It’s soft, chewy, and bursting with that classic red velvet charm; perfect for beginners, busy bakers, or anyone craving a simple yet show-stopping dessert. Whether you keep them plain or add cream cheese frosting, this Red Velvet Cookies Recipe always delivers bakery-style results you’ll be proud to share.
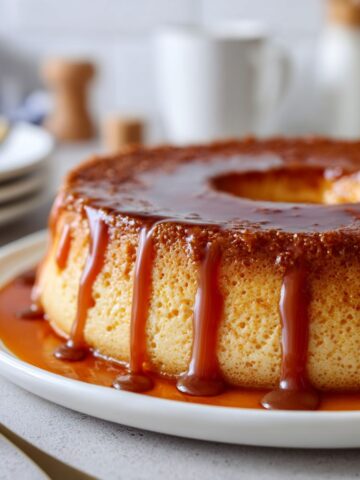
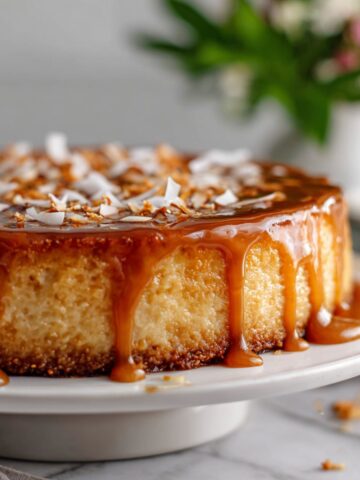
Looking to fill out your dessert tray? Try our Peanut Butter Cookies Recipe for a rich, nutty twist, or go creamy and elegant with this Caramel Flan Recipe — both pair beautifully with your red velvet batch.
So go ahead; whip up this Red Velvet Cookies Recipe, enjoy the process, and snap a photo of your finished cookies! We’d love to see how your version of this Red Velvet Cookies Recipe turned out—drop your photos in the comments and share your baking wins. And if you loved this Red Velvet Cookies Recipe, don’t forget to rate it and help other home bakers discover their new favorite treat. Happy baking from our kitchen to yours!
Related
Looking for other recipes like this? Try these:

Pairing
These are my favorite dishes to serve with Red Velvet Cookies Recipe


Red Velvet Cookies Recipe
Equipment
- 1 Stand mixer or hand mixer For creaming butter and sugars efficiently
- 1 Cookie scoop Ensures even cookie portions for uniform baking
- 2 Large mixing bowls One for dry ingredients; one for wet ingredients
- 1 Parchment paper Prevents sticking and helps cookies bake evenly
- 1–2 Baking sheets Lined with parchment paper; used for baking cookies
- 1 Cooling rack Allows cookies to cool without getting soggy on the bottom
Ingredients
- 2¼ cups all-purpose flour Forms the cookie structure
- 2 tablespoons unsweetened cocoa powder Adds signature red velvet flavor
- 1 teaspoon baking soda Helps the cookies rise
- ½ teaspoon salt Balances sweetness
- 1 cup unsalted butter Softened
- 1 cup granulated sugar
- ½ cup brown sugar Packed
- 2 large eggs Room temperature
- 2 teaspoons vanilla extract Enhances red velvet flavor
- 1 tablespoon red food coloring Liquid
- 1 teaspoon white vinegar Gives that signature tang
- 1 cup white chocolate chips Optional but recommended
- ½ cup mini chocolate chips Optional for extra chocolate
Instructions
- Preheat oven to 350°F
- Whisk flour, cocoa, soda, and salt
- Cream butter and both sugars
- Beat in eggs, vanilla, color, vinegar
- Gradually mix in dry ingredients
- Fold in chips
- Scoop onto baking sheet
- Bake 10–12 minutes
- Cool on pan 5 mins, then rack
Notes
- Nutrition information is automatically calculated, so should only be used as an approximation.

Leave a Reply